I. Pre-Installation Preparation
1. Surface Preparation
- Compact subgrade to ≥90% Proctor density
- Remove all debris >20mm (stones, metal objects)
- Excavate 40cm×40cm anchor trenches along perimeter
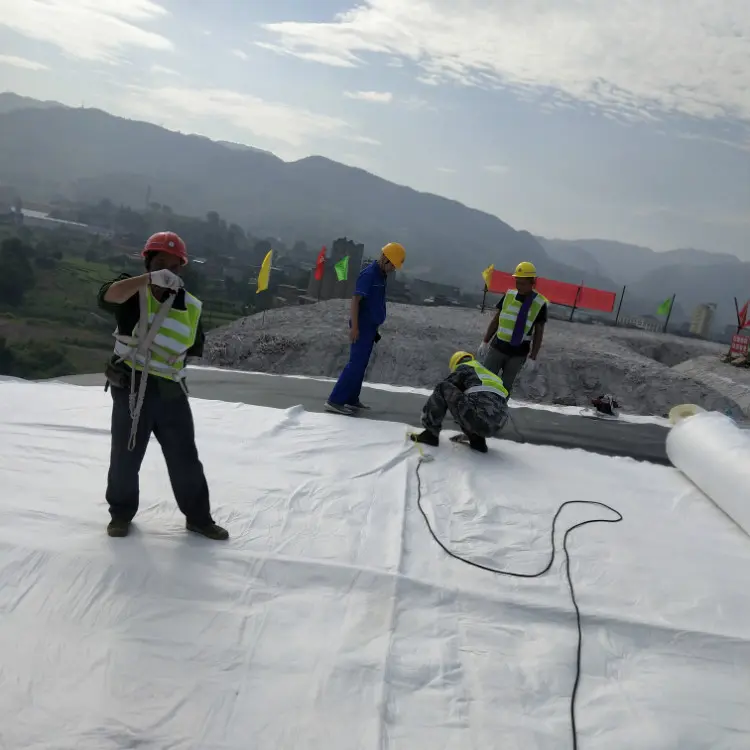
II. Deployment Procedures
1. Layout & Cutting
- Unroll geomembrane on clean area
- Cut to designed shapes with 1-4% slack allowance
2. Placement Protocol
- Minimize seams using T-seam pattern
- Secure exposed edges immediately with sandbags
- Maintain wrinkle-free placement
3. Weather Constraints
| Parameter | Allowable Range |
|---|---|
| Temperature | 4°C – 40°C |
| Precipitation | None (surface dry) |
| Wind Speed | ≤4.5 m/s (≤16 km/h) |

III. Welding Specifications
1. Thermal Fusion Welding
- 15cm overlap minimum
- Pre-clean surfaces with approved solvents
2. Extrusion Welding
- 7.5cm overlap minimum
- Bevel edges at 45° (0.5mm depth)
- Use virgin resin welding rods
3. Slope Welding Technique
- Weld vertically down slopes
- Anchor membrane at platforms
- Post-weld sandbag anchoring
IV. Critical Quality Control
1. Defect Repair Protocol
- ≤6mm holes: Extrusion repair
- 6mm holes: Circular patch (min. 15cm overlap)
- All repairs require nondestructive testing (NDT)
2. Anchoring Requirements
- U-shaped trench configuration
- Secure with sandbags or concrete
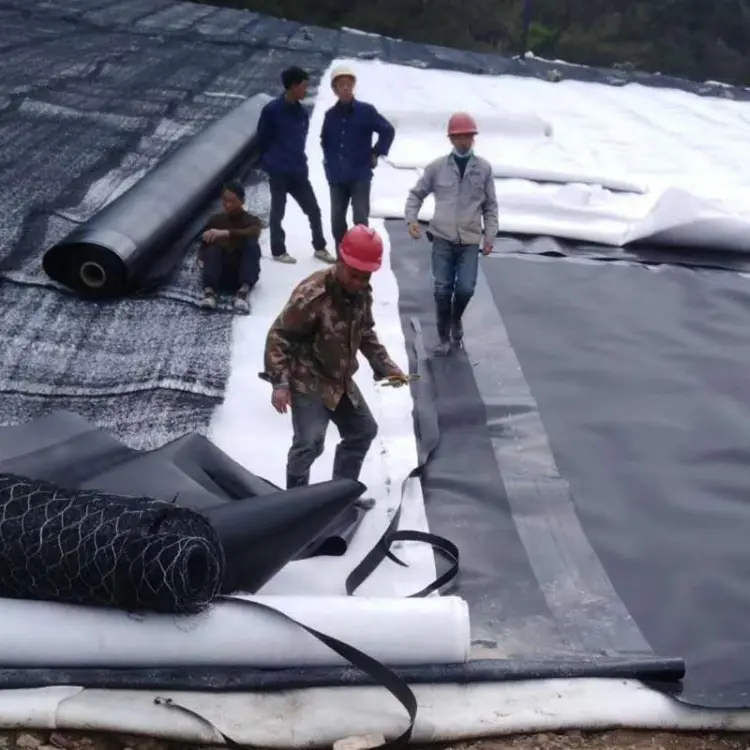
3. Protection Measures
- Install geotextile cushion layer immediately
- Cover with granular fill or concrete
Safety & Compliance Directives
- Access Control: Permit-only personnel in work zones
- Footwear: Non-spiked shoes mandatory
- Material Handling: No dragging/dropping of rolls
- Welding QC:
- Continuous speed monitoring
- Destructive testing every 500m
Key Technical Terms: HDPE geomembrane, thermal fusion welding, extrusion welding, nondestructive testing (NDT), anchor trench